Hi guys
So last week I had the opportunity to shop at Sephora, for those who don't know it's a chain of cosmetic department stores (for my management fellow mates it's a category killer). I was literally like a kid in a candy store totally indecisive as to what to buy and what not to. I ended up with three O.P.I Polishes (now that's something to really celebrate for an Indian blogger like me), a ciaté Polish and this.... beautiful beautiful kit of velvet manicure by ciaté. I couldn't wait to try it on so the moment I unpacked, I tried a teeny bit on my thumb but here's the full swatch
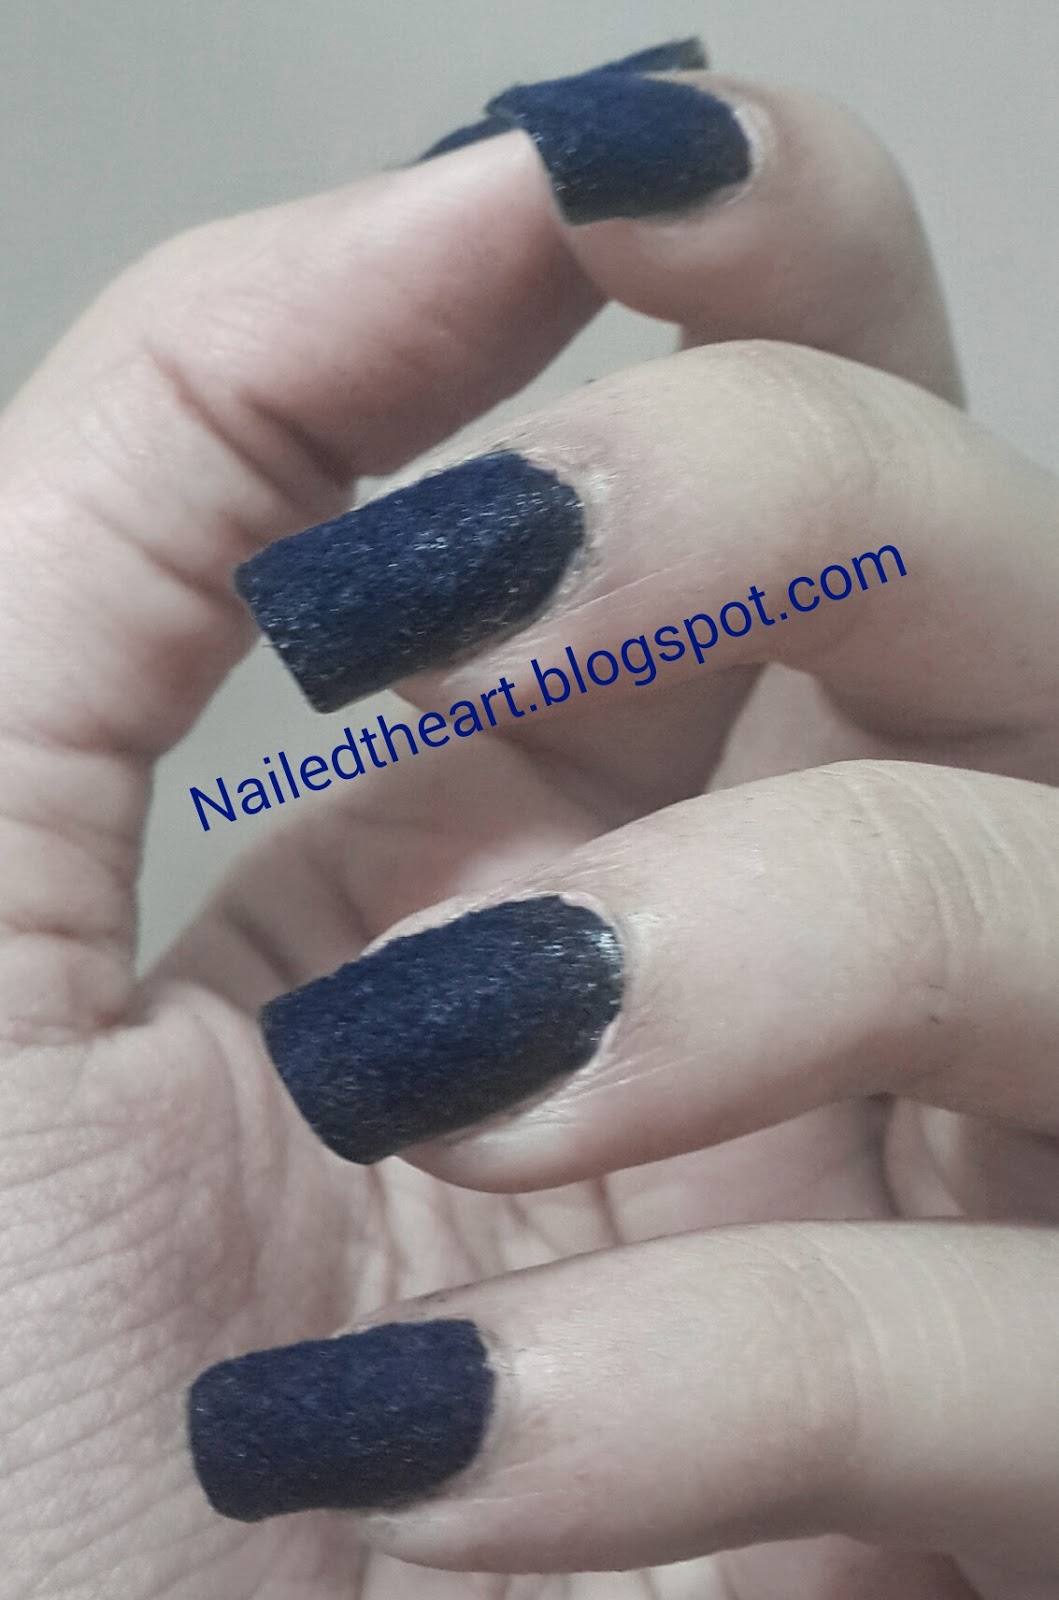
The base is my favourite shade of blue and with the crushed velvet it becomes all the more beautiful. The feeling of wearing this manicure is like wearing a designer dress on your nails, seriously no kidding ;)

The application is very simple involving three easy steps and they are explained with illustration in different languages on the box as well as an instruction booklet that comes along.
All you really have to do is apply one coat of nail polish that comes along then working one nail at a time apply a generous second coat and sprinkle the crushed velvet on the nail from the sprinkler that comes along. A short wait and you're good to go.

Here you can see the pretty ciaté bottle. The whole package is very user friendly from the right sized brush of the bottle to the sprinkler which fits perfectly in the hands to the small plastic tray that makes it convenient to collect the scattered velvet to the small brush that comes along and is very helpful in dusting away the excess velvet.
I'd totally recommend it to anyone because it's totally worth it and if you don't like this shade there are two others one is magenta and the other beige.

This is how the box looks like, tempting isn't it??
So last week I had the opportunity to shop at Sephora, for those who don't know it's a chain of cosmetic department stores (for my management fellow mates it's a category killer). I was literally like a kid in a candy store totally indecisive as to what to buy and what not to. I ended up with three O.P.I Polishes (now that's something to really celebrate for an Indian blogger like me), a ciaté Polish and this.... beautiful beautiful kit of velvet manicure by ciaté. I couldn't wait to try it on so the moment I unpacked, I tried a teeny bit on my thumb but here's the full swatch
The base is my favourite shade of blue and with the crushed velvet it becomes all the more beautiful. The feeling of wearing this manicure is like wearing a designer dress on your nails, seriously no kidding ;)
The application is very simple involving three easy steps and they are explained with illustration in different languages on the box as well as an instruction booklet that comes along.
All you really have to do is apply one coat of nail polish that comes along then working one nail at a time apply a generous second coat and sprinkle the crushed velvet on the nail from the sprinkler that comes along. A short wait and you're good to go.
Here you can see the pretty ciaté bottle. The whole package is very user friendly from the right sized brush of the bottle to the sprinkler which fits perfectly in the hands to the small plastic tray that makes it convenient to collect the scattered velvet to the small brush that comes along and is very helpful in dusting away the excess velvet.
I'd totally recommend it to anyone because it's totally worth it and if you don't like this shade there are two others one is magenta and the other beige.
This is how the box looks like, tempting isn't it??


