Thursday 17 July 2014

Jewelled fingers mani

Hi guys
Today's mani inspiration was from the amazing nailed it she had done this mani quite long ago when I didn't even begin blogging but it's simplistic beauty really stole my heart.
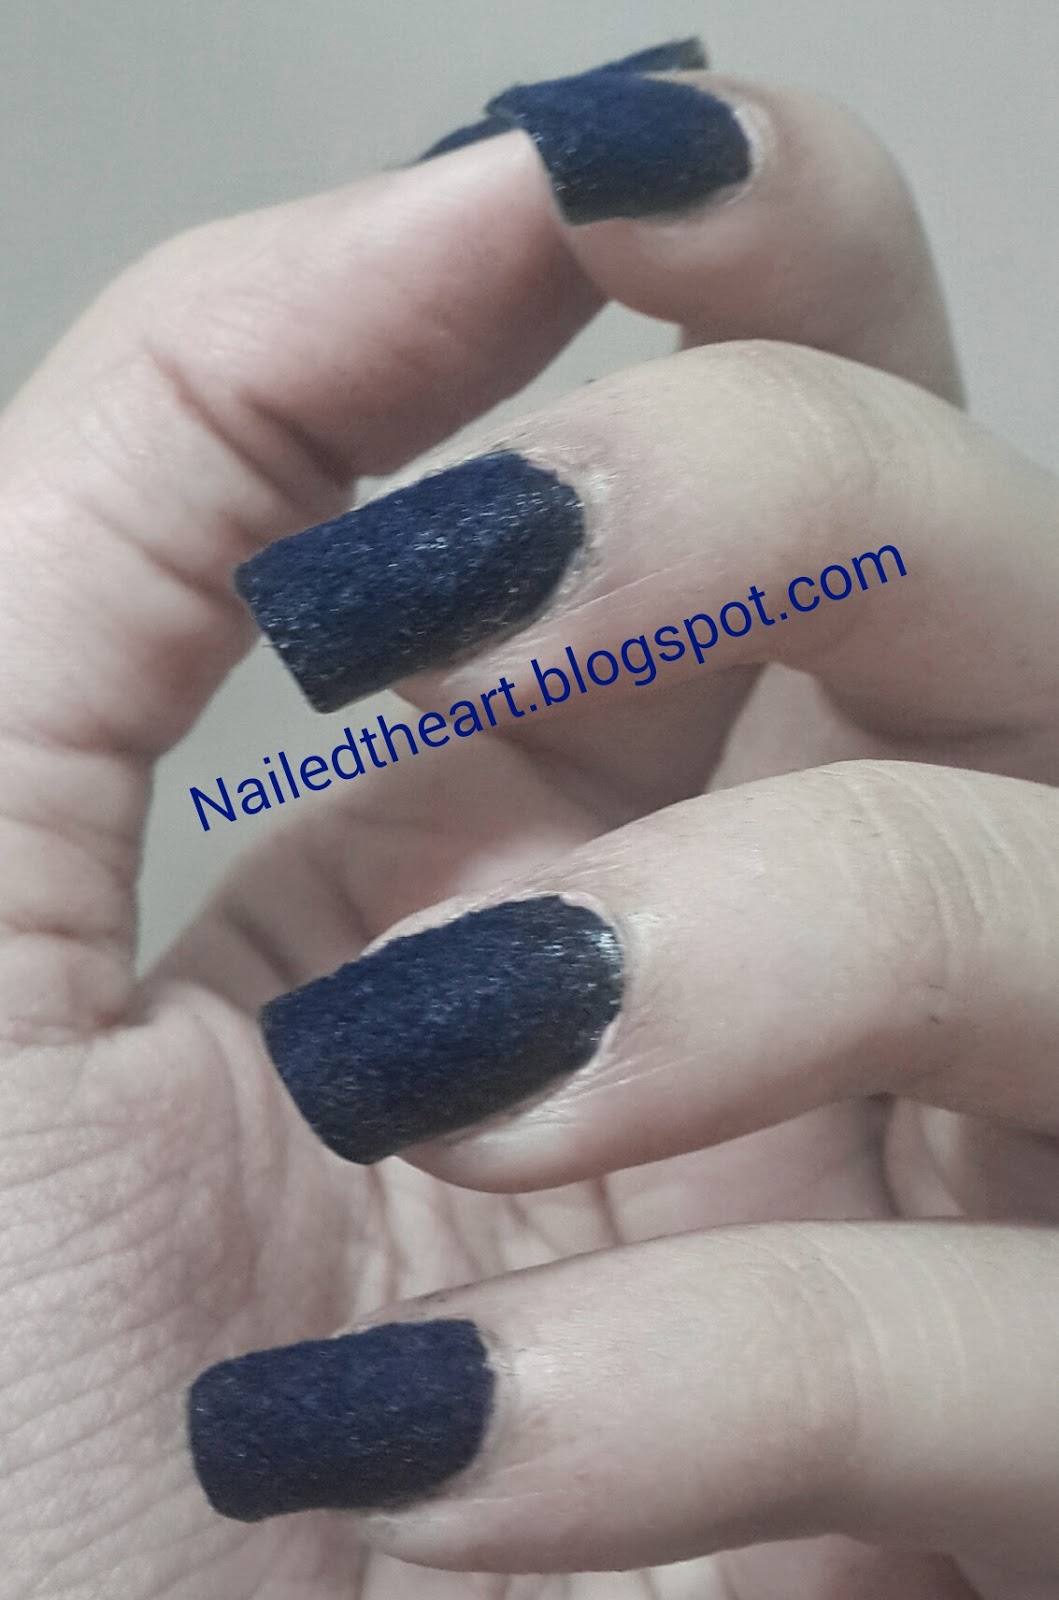
So here's my version.


I used OPI Samoan sand as my base and used the smallest dotting tool for the black pearls and studs both from Konad.


For those who are wondering I've posed against a lamp stand while in my hotel room in Singapore :)


Here's a bonus shot
Hope you guys liked my effort. 

Wednesday 16 July 2014

Swatch and review of OPI Panda-monium Pink with barbie inspired floral mani

Hello lovlies,
Hope you doing great. Today I have a swatch of the lovely OPI Panda-monium Pink. This polish I swear looks like a dream. You can see for yourself below, it is two coats without top coat in natural sunlight.


As you can see its a lovely baby pink and as smooth as butter. It gave me an almost even coverage in two coats but I can see a few steaks,  guess they would be fine in three thin coats or two thick coats. For a lovely collage you can check out my Instagram. Overall I'd recommend this color for every pink lover and those who like muted shades. 

Now for the nail art that I did on this. 

I freehanded the design using my little art brush and layered the flowers a bit. I guess I achieved what I was looking for. This reminds me of the prints on most barbie products and hence the name. I topped off the design with China Glaze fairy dust to add that extra pizzas to it. 😍💅

Sunday 13 July 2014

Watermelon mani again but improved

Hi guys
I'm so overwhelmed with all the love you've been showering on me and my blog. All the ideas, suggestions, criticism all is highly appreciated. I take each one of them very seriously and therefore wheni decided to test how far I've come as an artist I recreated this watermelon mani.

I used the same colours as before which you can see here 
I know I can do a better job maybe in future but as of now I'm really content with how far I've come.
Here's a little comparison of both the current and previous manis.
 Once again thanks for stopping by. :)

Wednesday 9 July 2014

Watercolour effect poppies

Hi everyone
I don't know what it is but lately I'm literally obsessed with floral mani. I just can't have enough of it maybe because I feel my free handing skills have improved great deal and so I'm on the lookout for floral manis all the time.
My biggest source of inspiration these days is Instagram and that is where I found this amazing mani by Lucy from lucysstash she's even got a video tutorial you should check it out.

I used OPI Samoan Sand as the base and used acetone to thin down OPI Where Did Suzi's Mango and Toucan Do It If You Try,  to make the poppies.
I couldn't really think of much with the leaves and honestly doing watercolour effect with polish is very tiring cos it dries before you can bat an eyelid.
Anyways I'll try with acrylic colours next.

You can find me everywhere with @Nailedtheart

Friday 20 June 2014

Rose mani with tutorial

Hey ya guys
Today I wanna Thank all the people who are giving me awesome suggestions for themes I should try and stuff I can do to improve my blog. I love you all and trust me I consider each suggestion seriously and try to work on it as soon as possible.
My first tutorial post is also based on a close friend's suggestion.


I didn't really mean to make a tutorial of this one but still I just took pictures as I went and so this is just a pictorial of sorts. I promise to make a detailed one next time.

Step 1. I painted the thumb and ring finger in Maxfactor white and the others in Lakmé Color crush 39

Step 2. I made abstract blobs on the thumb and ring finger using the back of a painting brush from OPI Panda-Monium Pink

Step 3. I sharpened a 0 number. painting brush to do the detailing because I felt it was more flexible than the nail art brushes I had.

Step 4. I made the rose like details which are just curved lines beginning from the centre of the blob and going outwards.

Step 5. I made the leaves using Revlon Super Nature

Step 6. I made the highlights on the Rose using the Maxfactor white and on the leaves using OPI Amazon...Amazoff

Step 7. Sealed it all with a Lakmé 9 to 5 top coat.

Hope all that was useful. Let me know if there's any room for improvement.

Tuesday 17 June 2014

Lemon print mani

Hey guys hope you liked my Tree of hearts mani which was an inspiration from a blogger I follow on Instagram and today I have another "inspired" mani again from a fantastic blogger @nailsbyarelisp


Lemons are perfect for this scorching heat in my part of the world. Completely free handed.


Hope you like it... and thanks for stopping by. 

Sunday 15 June 2014

Fifa themed mani inspired by J Lo

Hey ya
So last week my another cousin requested a FIFA themed mani (wow guys I really really appreciate your feedback and tips) and so I brainstormed but didn't feel like doing the usual football or flags or anything cos the MANIVERSE at the moment is filed with such manis and really good ones belive me and hence I felt I should do something different and yet FIFA and hence this......


A mani inspired by J Lo's attire in the song Ola Ola which is the official FIFA World Cup song.


I completely free handed the design using my 0 number paint brush. The half moon I created by cutting the tape in a half moon shape and then using it as template. The rhinestones are by Konad which I had bought long back from Flipkart.


More suggestions are always welcome let me know if I did justice to the theme or not.
Thanks for stopping by :)

Friday 13 June 2014

Tree of hearts mani

Hello people....... wassup??? hope you guys doing well.
Today's mani is inspired by my favourite blogger with beautiful hands and amazing talent. She is none other than Leslie from workplaypolish guys seriously you should check out her work I bet you'll love every single one of it.


I had tried this mani some time in feb but it failed drastically but now I felt that my freehand skills had developed considerably to give it another shot and here we are ;) I'm really happy with the way it came out. The White is a new Polish that I bought from Maxfactor it's seriously worth it because it's smooth and non streaky unlike many whites out there. Rest are a plethora of OPIs from my recent hauls from Singapore and Dubai. 
I completely free handed the design using a zero number paint brush which I further sharpened. 
Here's the link to my inspiration feel free to let me know how I fared against her awesome mani.
Thanks for stopping by. See ya

Sunday 8 June 2014

Rejuvenating an old mani

Hey guys my recent post was the orange ombre mani which I told you reminded me of sunset and so I thought of putting my freehand skills at test and try painting palm trees on it, to just try and run the mani for a few more days.
If you missed the old post it's Here. It could have been better I know but still I kinda like it. Not bad considering I used a striping brush to do it.

Galaxy mani

Today I finally finally get to post this mani which was requested by my sweet little cousin who one day wants to become an astronaut and therefore requested if I could make "the galaxy" on my nails.

I was anyways looking for an excuse to do galaxy nails which probably he doesn't know are such a huge thing in MANIVERSE :)

 I used a variety of Polishes for this mani as you can tell but the one that I'm holding is a scattered holo beauty from Inglot.

As usual I do belive there's room for improvement and I'll come up soon with another one.

Just like my cousin if any of you have suggestions for any theme that I should try please let me know in the comments below.

Thanks for stopping by I really appreciate it.

Thursday 5 June 2014

Orange gradient mani

Hey ya people
So here's a mani that I did using my latest OPI Polishes. My my although they cost me an arm and a leg (considering I don't spend approximately INR 750 on one Polish :o) they didn't disappoint me AT ALL so smooth in their finish, adequately pigmented, and so so long lasting.

I decided to give gradient mani a try finally *achievement* and tried this look which reminds me of sunset or sunrise whichever you please :) No more rambling straight to the pictures.


I'll update the names of the Polishes soon, please follow and comment if you appreciate my work.
Have a nice day:) and thanks for stopping by.

Wednesday 28 May 2014

#LLGARDEN Lacquer legion garden theme mani

It is again time for my favourite monthly challenge The Lacquer Legion.... my previous post was on the theme- glamour, you can check it out here . This month the theme is Garden and since I for long wanted to do some sort of rendition of French manicure I thought why not flowery tips so here it is

I used O.P.I Samoan Sand as the base and then a variety of Polishes for the flowers. This mani consume a lot of time due to the fact that I accidently spilt my green Polish on my desk! !! Jesus that was a disaster I swear and therefore took the pictures a day late and the mani smudged a little while I slept :(


Sunday 25 May 2014

Fruit mani-watermelons

Hey guys hope you doing well. As for me, the heat is killing me and my favorite fruit to fight the heat is. ... watermelon!!!! and hence the inspiration for today's heat busting mani is watermelons. ...
 I tried a new pose this time and I quite like it.

 I had to use a bunch of things for this one. I didn't have this watermelon shade so I overlaid Maybelline express fuchsia on Lakmé siren red to get this darker shade and then used nail art brushes for the light green lines and striper brushes for the white and black

overall I'm happy with the way it came out just that the green looks a little thick I could have done better but still I love love love my fruit mani.


Tuesday 29 April 2014

Ciaté velvet manicure swatch and review

Hi guys
So last week I had the opportunity to shop at Sephora, for those who don't know it's a chain of cosmetic department stores (for my management fellow mates it's a category killer). I was literally like a kid in a candy store totally indecisive as to what to buy and what not to. I ended up with three O.P.I Polishes (now that's something to really celebrate for an Indian blogger like me), a ciaté Polish and this.... beautiful beautiful kit of velvet manicure by ciaté. I couldn't wait to try it on so the moment I unpacked, I tried a teeny bit on my thumb but here's the full swatch

The base is my favourite shade of blue and with the crushed velvet it becomes all the more beautiful. The feeling of wearing this manicure is like wearing a designer dress on your nails, seriously no kidding ;)

The application is very simple involving three easy steps and they are explained with illustration in different languages on the box as well as an instruction booklet that comes along.

All you really have to do is apply one coat of nail polish that comes along then working one nail at a time apply a generous second coat and sprinkle the crushed velvet on the nail from the sprinkler that comes along. A short wait and you're good to go.

Here you can see the pretty ciaté bottle. The whole package is very user friendly from the right sized brush of the bottle to the sprinkler which fits perfectly in the hands to the small plastic tray that makes it convenient to collect the scattered velvet to the small brush that comes along and is very helpful in dusting away the excess velvet.

I'd totally recommend it to anyone because it's totally worth it and if you don't like this shade there are two others one is magenta and the other beige.

This is how the box looks like, tempting isn't it??

Monday 28 April 2014

#llglam Lacquer Legion glam theme mani

Hey guys
This is the first time I'm participating in the lacquer legion monthly challenge and this month's theme is "glam". It's a pretty simple challenge and all you have to do is interpret the theme in the way you like and hashtag your entry on the specified date so everyone can see it.

When I think of glamorous the first colour that comes to my mind is black it's the ultimate sign of glamour and therefore I just had to incorporate it in my mani and since I had just received my new konad rhinestones I thought of making a rainbow accent and this was the result. ..

The rhinestones were pretty easy to attach and it wasn't that time consuming as it may seem, just thin lines of top coat and they stuck really well I just added two coats of top coat on top and believe me I had one heck of a time removing it they stuck so well.
The only regret that I have is I should have started from the middle and worked my way on the side, that would give me straighter lines but that's Ok I'm still on the learning curve:)

Here's a blur shot just for fun ;)

This is the #llglam poster by lacquer legion
ooohhh turns out this is my most wordy post so far and the most picture heavy too. If you're not bored by now thanks for stopping by.

Friday 25 April 2014

Colorbar Turquoise mani with accent nail

Hey ya
So I don't know what is it about me and nail art these days, that I always fail at one nail art before I succeed in the second design but maybe because I'm really trying to push myself really hard and attempting designs and techniques which I wouldn't even think of before I began blogging.

Today's design is a very simple way to add a little bling to any mani no matter what base colour, here I have used turquoise from colorbar, which is undoubtedly a gorgeous colour and gets smooth in just 2 thin coats. I added the little heart shaped rhinestones on my ring finger as accent, which are from konad and you can get them from here. I must say they stick really really well with just a little bit of clear polish :) without further ado here is the mani
I wanted to add the rhinestone to one more nail maybe my middle finger, but honestly I was too tired, but still I think it looks great anyway so win win!!!!
Thanks for stopping by guys your support really means a lot to me:)

Wednesday 23 April 2014

Black and white with glitter mani

I've been observing for quite sometime this trend where there's one black and white nail one is a glitter bomb and the rest are one solid colour, well whoever is responsible for the trend,  my cudos to you because I totally loved it the first time I saw it and was totally waiting for exams to get over so that I could do it so well here it is. ..
Since the time I've began doing mani for this blog I have really started challenging my abilities all thanks to my wonderful readers out there becausei really want to take this blog far and that wouldn't be possible if I do not have quality content.

Hence in this mani I just cut strips out of a medical tape and rubbed it on my palm to remove the excess glue,  laid it over the white and finished with black. A little tip here instead of trying to finish it in one go I did it in three steps working my way inwards from both the corners which was more convenient. Also I corrected a small smudge with the help of a painting brush and white nail polish.

Rest of the nails are pretty easy and therefore you get a jazzy mani with effort on only one nail ;)

Saturday 29 March 2014

Old school flower pattern mani

Hey everyone
I have been super busy with my end sem exams but I still found some time to do this mani for two reasons
1) I was really stressed out with exam burden.
2) I needed something pretty to look at while writing my exams ;)

So I had been thinking for months literally to try and do some free hand floral, but I thought I didn't really have the required skills, hence I kept on postponing it until I had several failed attempts at doing an ombre mani. I found this really helpful video on youtube, which you can should check out here and decided to give it a shot.

I used some stuff lying around as diy tools such as the end of an art brush as large dotting tool and shaved off some hair from size 0 brush to make the thinner lines which I admit are not so thin, but for now will do.


I mattified the mani next day for a more crisper look and it reminded me of those old school flowery table cloths or my mom's oil paintings.

For it being the first time I'm really happy with my work and therefore have ordered my first set of nail art brushes from flipkart and a whole lot of nail goodies. 

Tuesday 4 March 2014

Red and black mani with rhinstones

Hey guys
I had to chop off my nails some time back so all the previous posts are coming from my inventory, hope my nails grow sooner and I'm able to do a couple of designs because then I have my exams lined up as well.


Never mind because for now we have a mani to feast our eyes on...:) this mani was for my new year trip to a hill station with my awesome bunch of friends. I just added the glitter that I bought from a beauty store using top coat as glue and followed it with a top coat from Lakmé 9 to 5 range.
The glitter looks more orange in the picture but it was a deep red in reality.
Colours used
Red- Lakmé true wear siren red
Black- Lakmé fast and fabulous night desire

Have a nice day and thanks a ton for reading :)

Friday 28 February 2014

Peach and gold polka dot mani

Hi readers!
Today's post is a simple way to jazz up any mani within minutes, as it requires no special tools nor skills and looks fabulous at the same time. 
It's a polka dot mani with trigger accent, now for those new to nail art trigger accent is when you highlight your thumb and index nail, cool name isn't it?
Without further ado here's the mani which was resting in my phone memory for a long time.  

Colours used:
Peach- Lakmé color crush 23
Gold- Lakmé fast and fabulous 01 gold shimmer

P.s. The dotting tool I used is just the sharpened end of a painting brush, but you can experiment with many things such as Bob pins, empty ball pens etc. 

Tuesday 18 February 2014

Red and gold with stamping

Hi guys!!
This is a special post because the occasion that these nails were done for is really special..... It's my cousin's wedding and hence to go with my royal blue and red dress I went with red nails with golden accent. It is also special because it is my first attempt at stamping and so excuse me for the not so perfect nails.


The original plan was to have reverse combination on the accent nail but somehow it didn't work out and layer after layer of covering up the flawed stamping led to the weird texture and the last minute flower accents, but somehow it partly satisfies my desire to have a textured Polish, so it works for me;)

Polishes used
Red- 505 Cherry by maybelline express finish
Gold- 01 gold shimmer by lakme fast and fabulous
Stamping plate- Konad m57 I bought this along with a stamper and scraper from flipkart
Flowers- I got these from a beauty products wholesaler in Jaipur


Sunday 2 February 2014

Purple ombre mani

I'm so motivated with the responses for my first post that I actually couldn't wait to come up with the second one asap. Thank you all for the encouragement, it means a lot to me.

So here I have done a purple ombre mami using oriflame dark purple on the thumb and mixing it with lakme white.
It's inspired by my blanket but since it was my first attempt at ombre nails I couldn't manage to eliminate the streaks.
No worries a better one next time :)

Thursday 30 January 2014

First Post!!!! Red and black cloud mani

Hi Readers!
Someone said "one day you will wake up and there won't be anytime for things you always wanted to do. do it now" so....here I go....
I know I'm virtually speaking to an empty space right now but it still feels good to say hi to potential readers. The idea of doing my own blog just crept up my mind randomly after I had been ardently following nail art blogs for a few months, but that was way back in July last year, but today something just compelled me to finally get on with it and so here I'm..........


One thing that I have noticed is that there aren't really any blogs which talk about Indian Nail Polish brands like Lakme, Maybelline, Revlon (I know these aren't "Indian" but I'm talking about the shades available in India) so in this blog I'll try to recreate the same magic using these brands. Without further ado here is my first nailart which is the cloud design originally done by nailside she has been my biggest inspiration and I miss her posts ;)

 I hope it's good enough for first post, I admit I have a lot to write but do not want to bore you guys thank you for being patient. special mention Aanchal Jagnani for the awesome blog name and all my friends who have been so appreciative of my efforts looking forward to same level of enthusiasm from you guys. Ok I need to stop now

COLOURS USED:
Red- Lakme true wear Siren red 404
Golden- Lakme colour crush 01
Black- Maybelline color show Blackout 220

Bye guys